Publishing your apps
When you've built and tested your app and have determined that it's ready for release, you can publish your app and make it available on the Uberflip Marketplace. Here's what you need to do, and what you can expect from the review and publishing process.
Step 1: Finish your app's Marketplace listing page
The last thing you need to do before you submit your app to be published is finish its listing page by adding proper documentation, screenshots, and anything else that's still missing.
- Go to marketplace.uberflip.com/developers/ to access your My Apps page.
- Next to the app, click on the three-dot ("meatball") menu button.
- Click on Edit. This opens the edit view for the app.
- Scroll down to the editable fields for your app (the same as the ones you completed when you registered the app).
- Complete or update any of the fields as needed.
- When you're done, click on the Save button at the bottom. As you've done before, click on the Save as Draft option when prompted. This takes you back to the My Apps page.
- To check if everything looks good with your Marketplace listing, preview it: click on the three-dot menu button beside the app, then click on Preview. This opens the app's listing page, where you can see the changes you've made, and how your app's listing page will look when it's published.
Here's a breakdown of the editable fields for your app's Marketplace listing, and what each one does:
| Field Name | Description | What It Does |
|---|---|---|
| Name | The name of your app | The name of the app; displayed anywhere the app appears in the Uberflip Marketplace or the Uberflip web app. |
| Icon | Your app's icon | The app's icon, also shown anywhere the app appears. |
| Summary | A brief description of your app | Functions as a tagline; shown with the app's name and icon in various places, such as Marketplace collections and categories pages. |
| Description | A longer description of your app | Allows you to go into more detail about what the app does; shown only on the Description tab of the app's listing page. |
| Manifest | Upload your app's manifest | Allows you to upload an initial app manifest, or update the app by uploading a new manifest. |
| Documentation | Instructions on how to configure and use your app | User documentation for the app, shown on the Documentation tab of the app's listing page. You can provide full documentation, or basic documentation and link to an external documentation site. |
| Categories | One or more categories that represent the kind of app this is | Specifies one or more categories for the app, allowing users to browse Marketplace apps by category. |
| Website URL | The URL of your main website | Shown as Website in the left sidebar of the app's listing page, below the icon. |
| Video URL | The URL of a video for your app | Displayed in the gallery on the Description tab of the app's listing page. Only shown if at least one image has been uploaded. |
| Images | One or more images illustrating your app | Displayed in the gallery on the Description tab of the app's listing page. |
| Contact URL | The URL that users can use to contact you | Shown as Contact Developer in the left sidebar of the app's listing page. Can be a mailto: URL for your support email. |
| Support URL | The URL where users can go to get support for the app | Shown as Support in the left sidebar of the app's listing page. Ideal for a link to your help portal. |
| Terms of Service URL | The URL where users can go to view your Terms of Service for your app | Shown as Terms of Service in the left sidebar of the app's listing page. Can be used to point to your TOS or Legal page. |
| Built By | The developer/company name | Indicates who developed the app, shown below the name on the app's listing page. |
Step 2: Submit the app for review
When your app is ready to go, you can submit it to be published. Uberflip's Marketplace staff will review your app along with its Marketplace listing and the collateral you created.
- Go to marketplace.uberflip.com/developers/ to access your My Apps page.
- Next to the app, click on the three-dot ("meatball") menu button.
- Click on Publish. This opens a confirmation prompt.
- Click on the Publish button.
- Your app will be submitted for review. You'll get an email confirmation that your app is being reviewed, and the app and will display Pending status on the My Apps page while the review is completed:

Other Ways to Publish
You might have noticed that this isn't the only way to submit an app for review and publishing. You can also choose to publish immediately anytime you register an app or when you save changes to an existing app: simply click on Publish instead of Save as Draft to both save your changes and submit the app for review right away.
Step 3: Review outcome and publishing
After you submit your app for review, Uberflip's Marketplace staff will look at all aspects of your app to determine if it meets Uberflip's app requirements, including: how the app works and what it does, any externally hosted functionality (if applicable), the app manifest, and the app's Marketplace listing.
App Rejected
If the review finds any problems with your app, it will be rejected, and the app will display this status on the My Apps page:

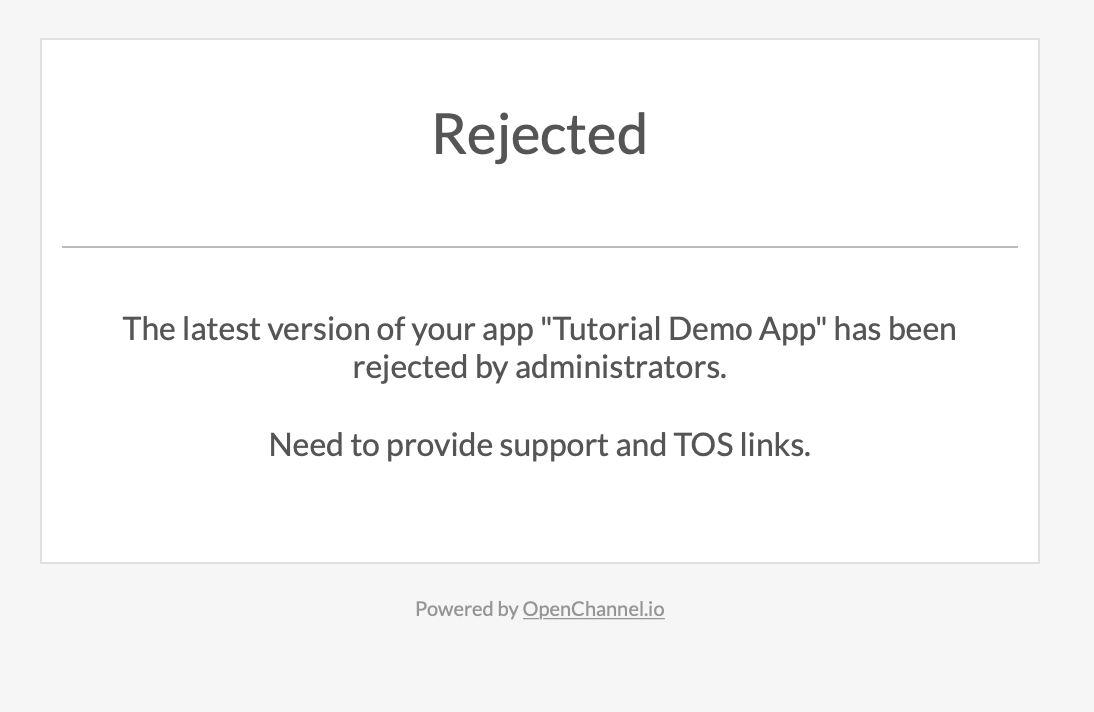
If your app is rejected, you'll also receive an email notification that explains what you need to change in order for your app to be approved:

App Approved
If everything looks good, your app will be approved, which immediately makes it available on the Uberflip Marketplace. The app's status on the My Apps page will reflect this:

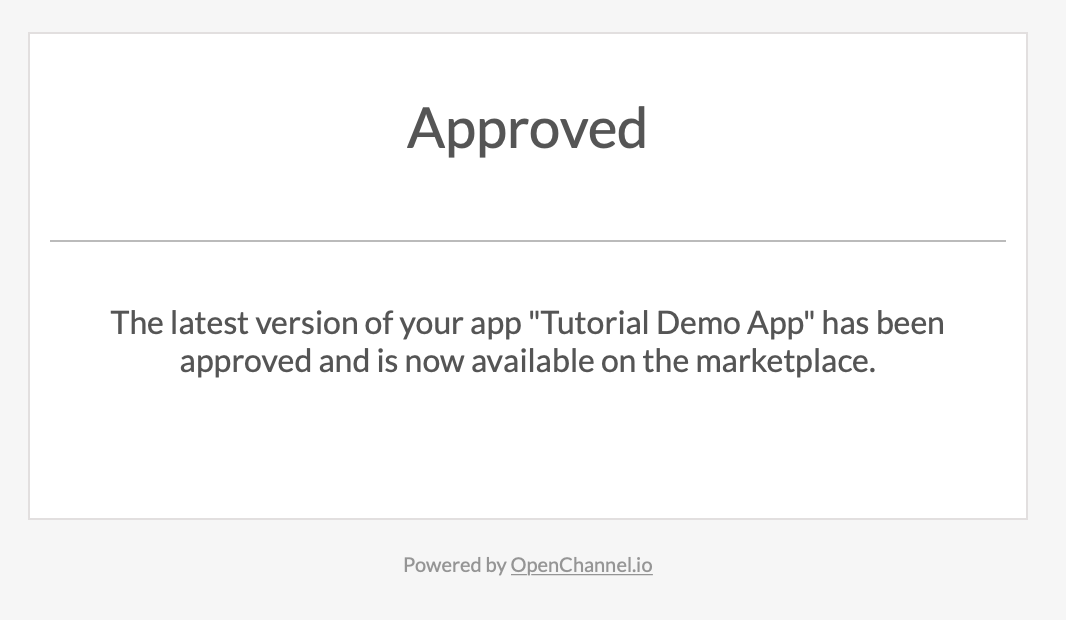
You'll get an email notification when this happens as well:

Step 4: Update your app
After your app has been published, you can make changes to the app or its listing page whenever you like. Any changes you make need to undergo review again before they go live on the Marketplace. During this time, any previously published version of the app and its listing will still remain available.
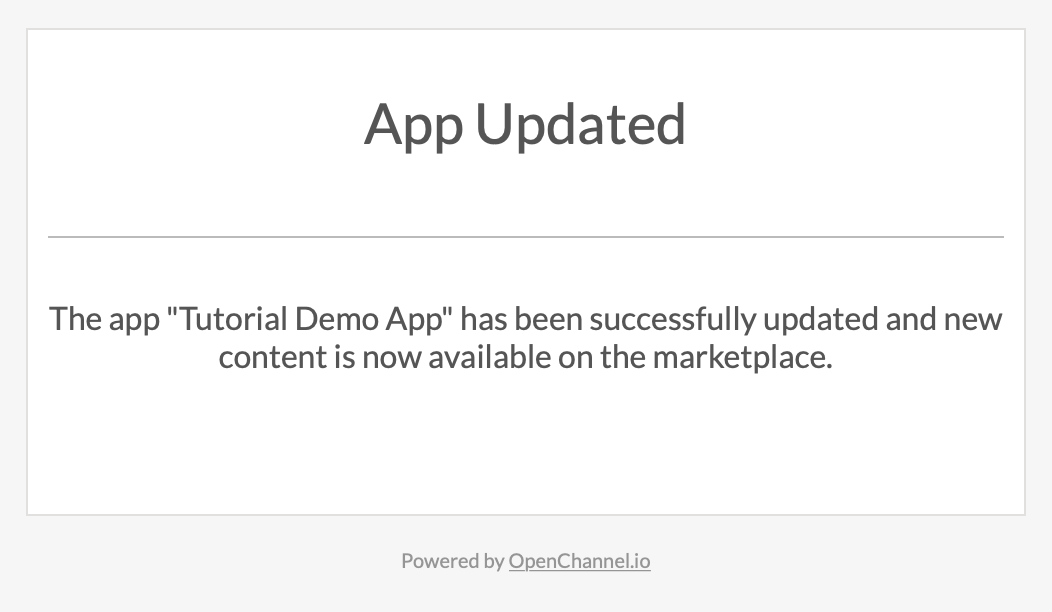
As with publishing your app initially, you'll get an email to notify you when your changes have been reviewed and are live:

Updated almost 2 years ago
